
Project KDX – Rekluse EXP
The last KDX-EXP conversion I will be making is for sale, more info HERE:

OVERVIEW
This project started the day I read that Revloc was closing here in the US and I decided to sell my Dyna Ring. Keeping a wear item like an auto-clutch without company support didn’t seem like a good long term idea.
I have certainly missed having the Dyna Ring, but I haven’t regretted selling it when I did. That decision proved to be the right one once I started researching the specifics for making a Rekluse EXP auto-clutch work on the KDX. I was initially thinking about using the thinner steel drive plates that came with the Dyna Ring and tried my best to find them. All I found was that Barnett isn’t supplying anything related to the Dyna Ring (steel drive plates, thinner friction disks or resurfacing the Dyna Ring) and Revloc Australia hasn’t returned emails or phone calls.
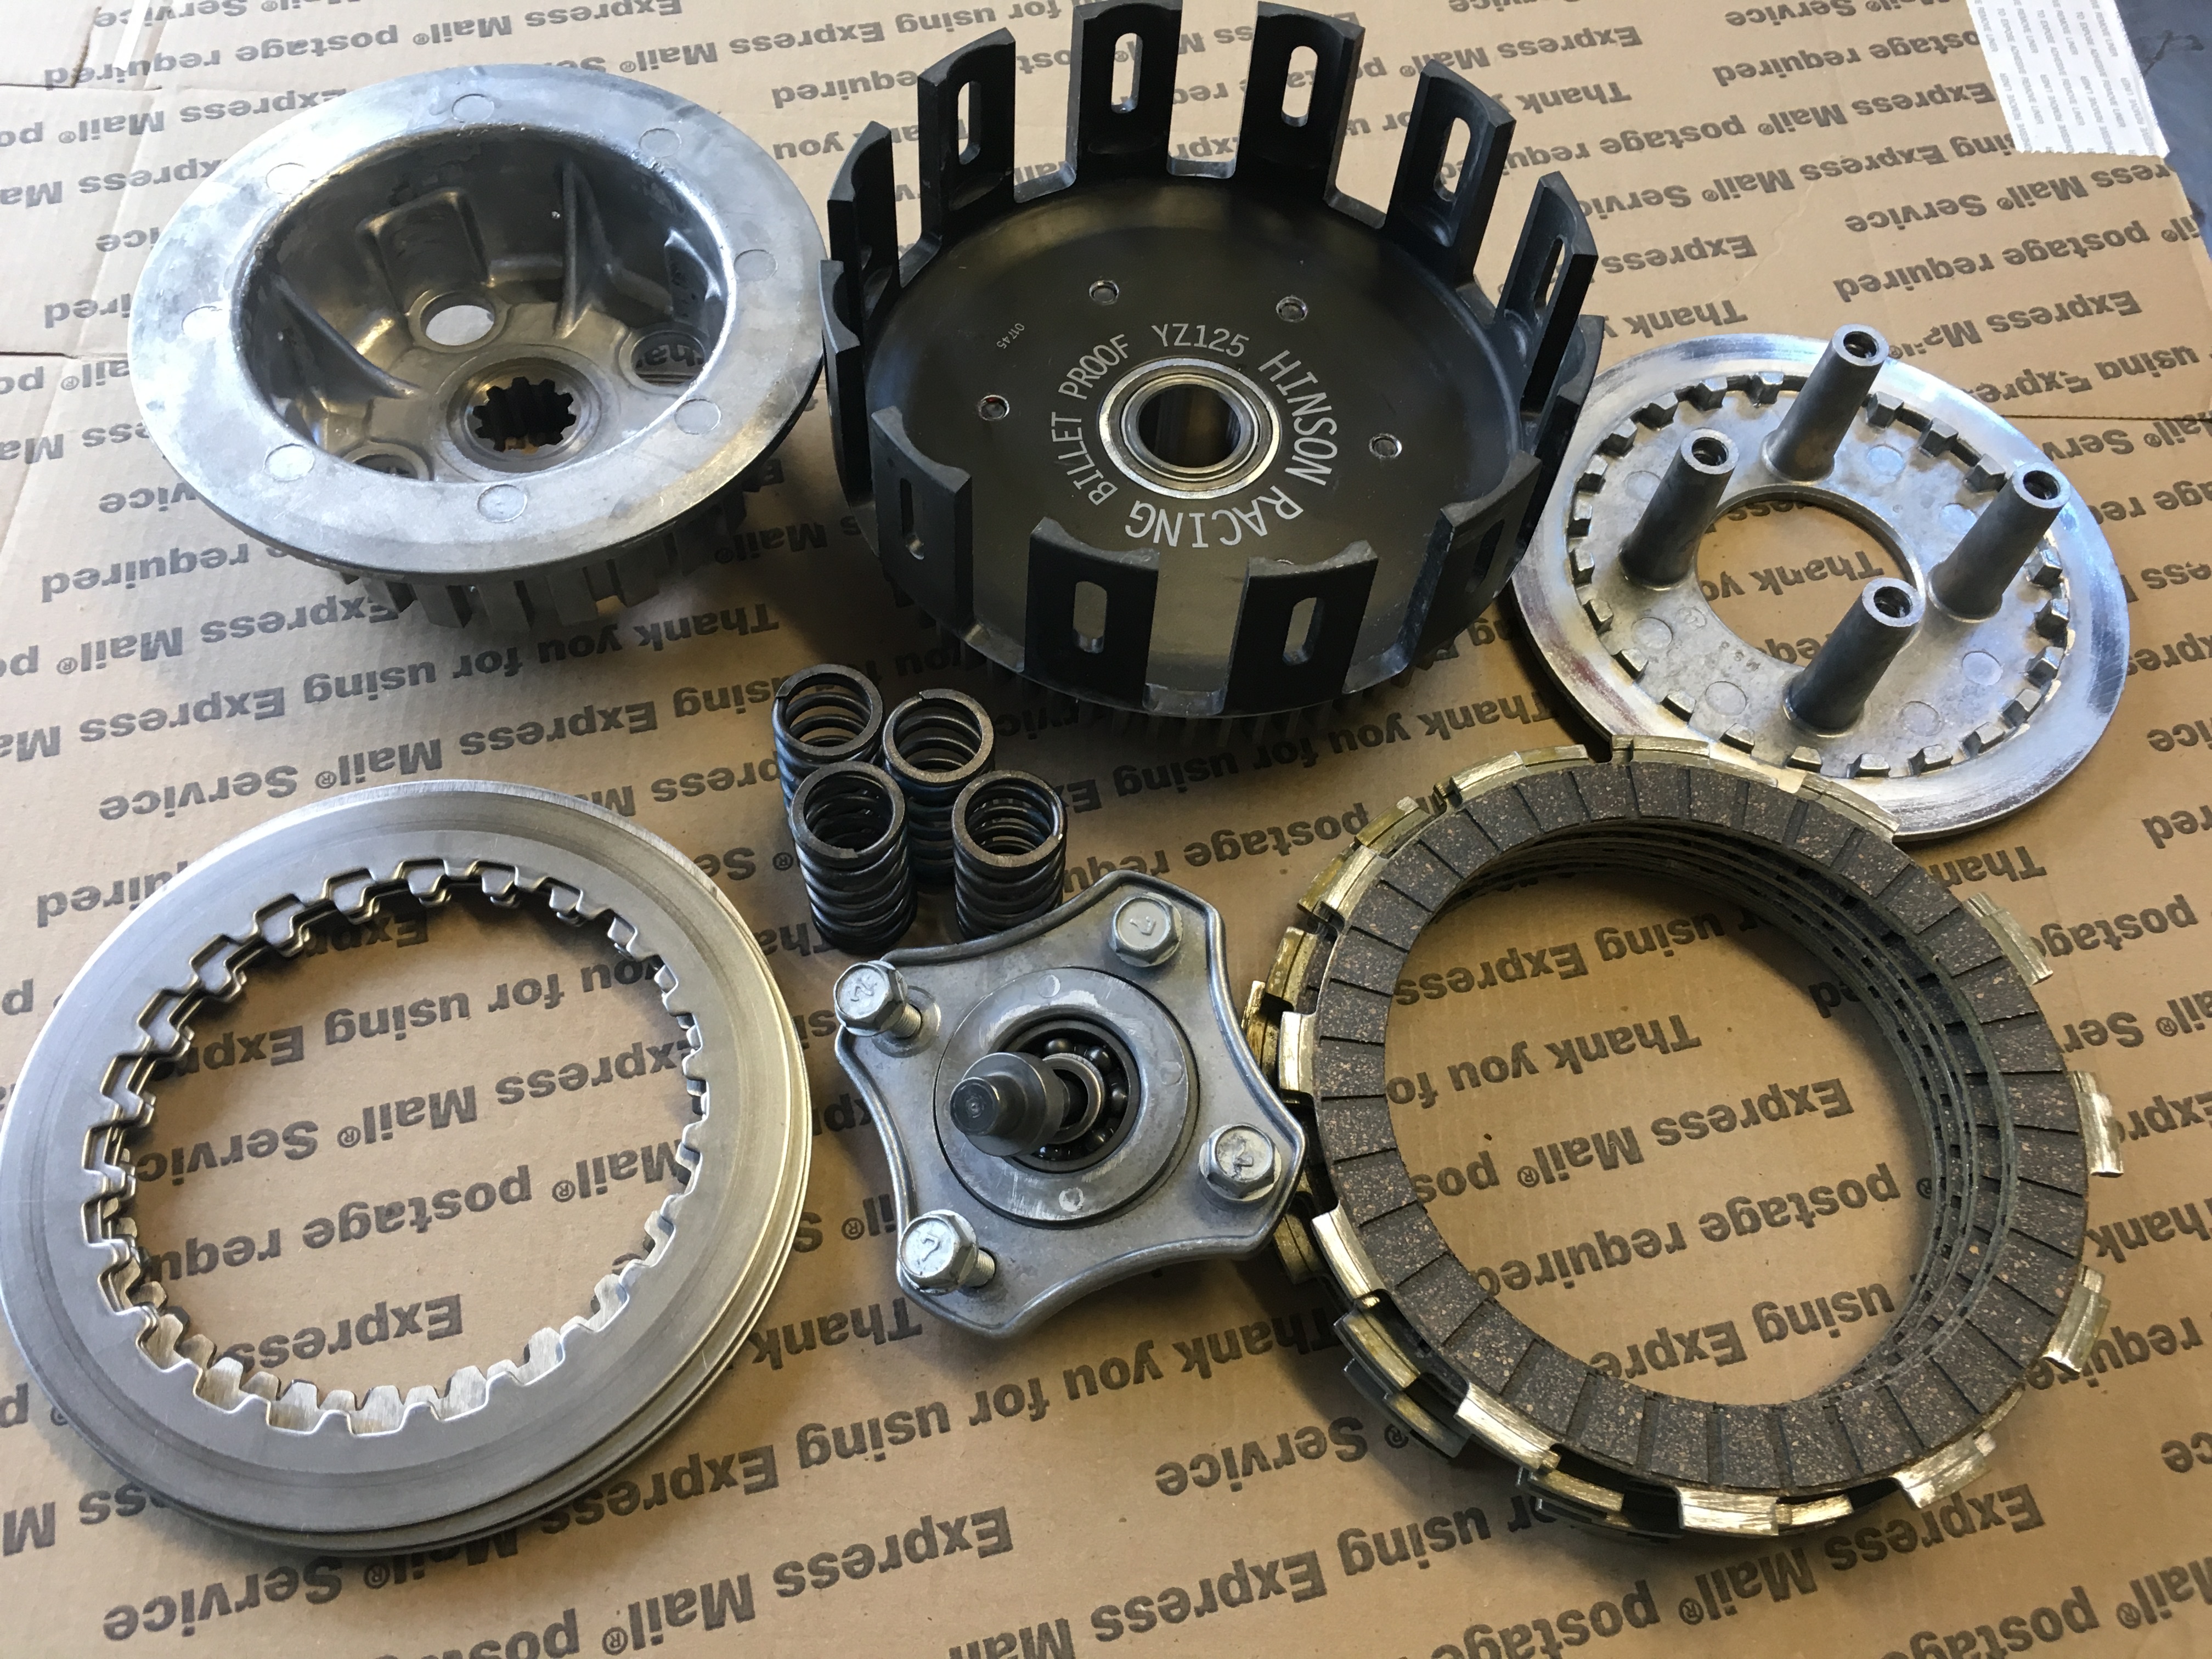
Once the Dyna Ring was sold, I made some half-hearted attempts to figure out if a Revloc EXP auto-clutch could work on a KDX. Then about a year and a half ago I got a little more serious and started waiting for really good deals to show-up on eBay on used clutches. Between now and then I collected a few items:

(click picture to enlarge)
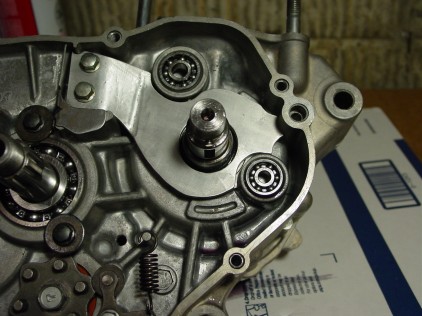
This engine came out of a trashed KDX. Having this spare engine made all the test fitting so much easier. I didn’t have any downtime and didn’t need to worry about keeping things clean as I tried different combinations and modifications:

(click picture to enlarge)
PHASE 1
The first goal is simply to get a clutch from another bike working on the KDX. Theoretically if I could do this, an EXP should work properly. I say “theoretically” only because of difficulties some have had getting the Dyna Ring to work correctly. The concept of the expanding disk auto-clutch is very straightforward. But it still remains to be determined why some users could never get their Revloc Dyna Rings to even come close to functioning properly.
The KDX clutch works opposite of most other clutches and certainly added to the challenge of this project. If the KDX clutch pack would expand away from the engine like most other bikes, it would have been quite simple to modify another clutch to fit. That would have then opened up the option of using the other clutches that Rekluse offers, like the Core or Z-start.
After a lot of trial and error, I finally have a set-up fitting on my junk engine:

(click picture to enlarge)
Doesn’t get much closer than this:

(click picture to enlarge)
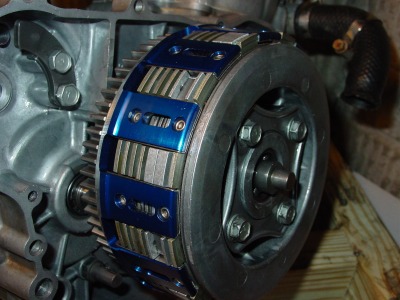
With all looking good there, time to put it on my bike:

(click picture to enlarge)
Phase 1 – Complete
After several laps around the yard, I have a functional hybrid clutch working in the KDX engine.
Of all the clutch components I bought related to this project, I sold what I could and the remaining items are going in trash:

(click picture to enlarge)
So what was the key to making this all work out? It all boiled down to finding the right basket – one from a YZ 125.
Phase 2 – Add EXP for working auto-clutch

(click picture to enlarge)
Ready to drop-in:

(click picture to enlarge)

(click picture to enlarge)
Ready to fill-up and ride:

(click picture to enlarge)
I wish a had some nice GoPro footage, but instead here is a crappy video of my first ride around the yard.
Easiest way to install a KDX clutch:
5.23.14 update:
Results from a real ride are HERE and the complete clutch is up for sale HERE.
Making a few:

Grinding the rivet heads off and then prying the backing plate. No need to be delicate here as none of these items get re-used:

You won’t see a billet/forged basket do this:

Or going the more civilized route and drilling the heads off:


Before:

After:

I’ve never provided actual measurements or specs on how to modify the parts to fit. That is because I’ve seen too many variances in parts to be able to do that. This is especially true for the OEM parts. I’ve had two hubs side by side that were different. Same goes for the pressure plates. I’m not sure if those differences where from the manufacturing process or from wear and tear. And the position of the crank in the cases will impact the position of the water pump gear relative to the clutch basket. I’ve always put together each conversion as a matched set and then test fit it on a spare engine:


If you have the tools or access to the tools to make these modifications, then you will have no problem fitting this to your engine. If you need to go to a machine shop, then make sure you bring your bike/engine so they can fit the parts properly.
These are some of the conversions I’ve put together. The only baskets I haven’t worked with are the Pro-X and Vortex. I’ve also never wanted to work with a OEM basket. A new OEM is more expensive than a new billet/forged basket. And used ones are usually notched and not that much cheaper than a used forged/billet basket that is in good shape.
Barnett SS insert basket

PE Performance Basket
This is probably the nicest basket I’ve used yet. The tolerances were very tight and the basket should last a long time. If I ever come across one again I think I’ll keep it for myself.

Barnett SS insert basket
Haven’t seen a non-blue Barnett (for this application that is) before:


Wiseco basket


Old style Hinson basket


New style Hinson basket

The Moose baskets are made by Hinson as well and are the “new style”.
WMR Basket
This basket takes 2nd place to the PE Engineering basket as far as tight tolerances. With the PE basket, it was almost difficult to get the frictions to slide into the basket. The WMR has a little more room, but definitely much less “slop” compare to every other basket out there. I would expect this remain notch-free for a long time.


Leave a comment